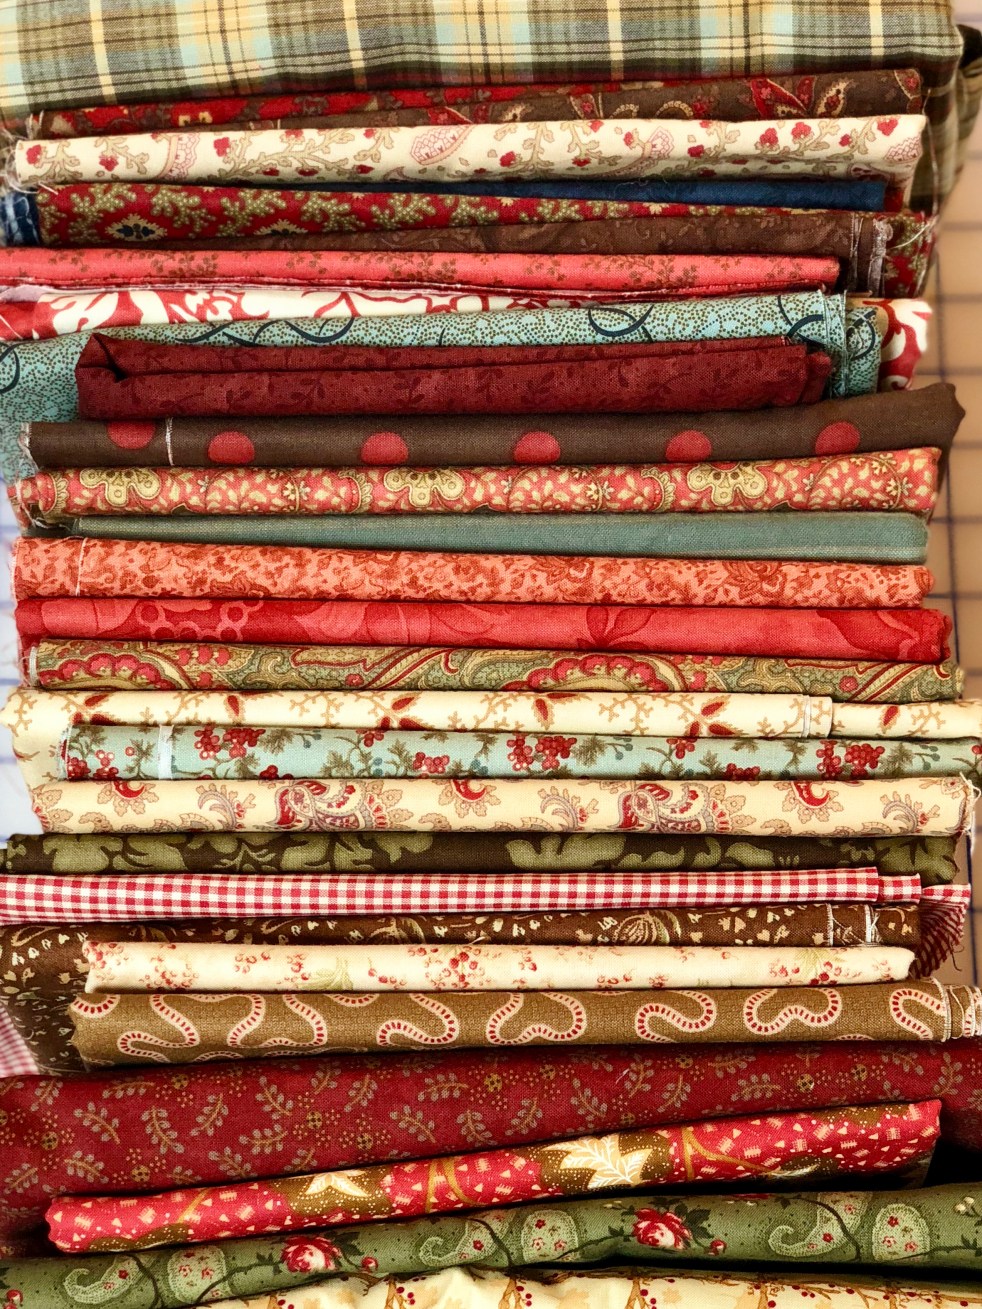
One night I was searching Pinterest and saw the cutest pattern called Speedwell quilt by Nicola Dodd of Cakes Stand Quilts. After clicking on the information I found out it was a free pattern featured on Moda Bake Shop. The pattern is based on a layer cake, which is a pre-cut stack of coordinating fabric. Instead of a layer cake, I used fabric from my collection of the last twenty years. My quilt is a few rows bigger than the pattern suggests. After reading the basic block directions, I followed my own desire to make a lot more blocks. My rule for the quilt is that I only used old fabric. No new fabric was purchased for the quilt.
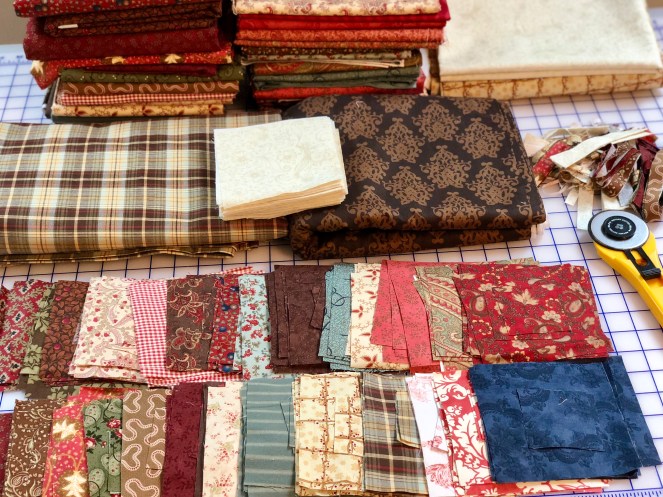
My original stack of fabric wasn’t enough. So I pulled more colors for the extra blocks. In the photo below some of the fabric is cut in two dimensions. It may be hard to see but over each 5 inch square is a stack of 2 1/2 inch matching squares.
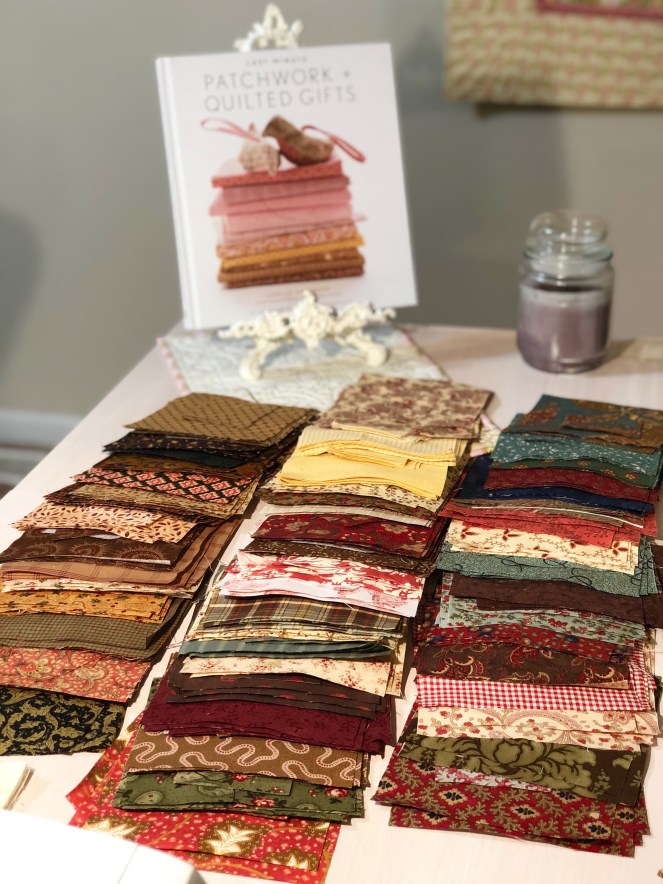
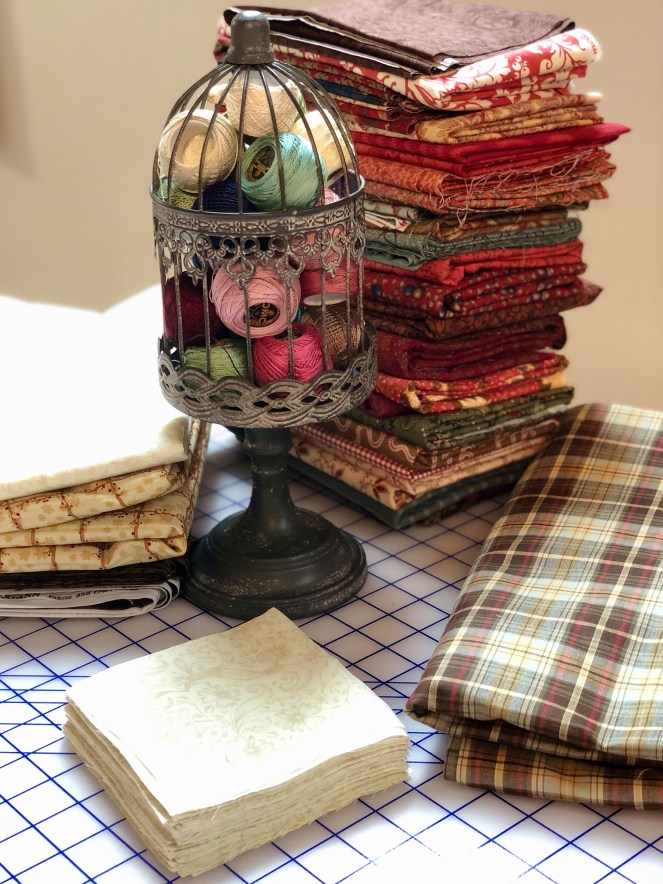
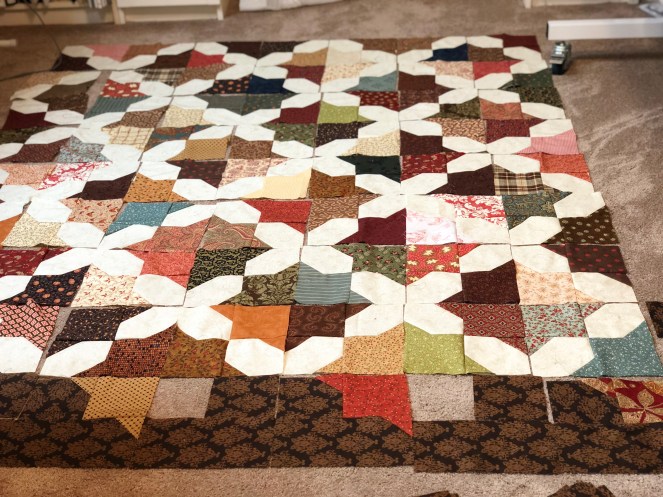
Adding new fabrics each time I get a few blocks sewn up. At this point in my process I had not decided how big the quilt was going to be. I needed to lay it on the floor and get a feel for things.
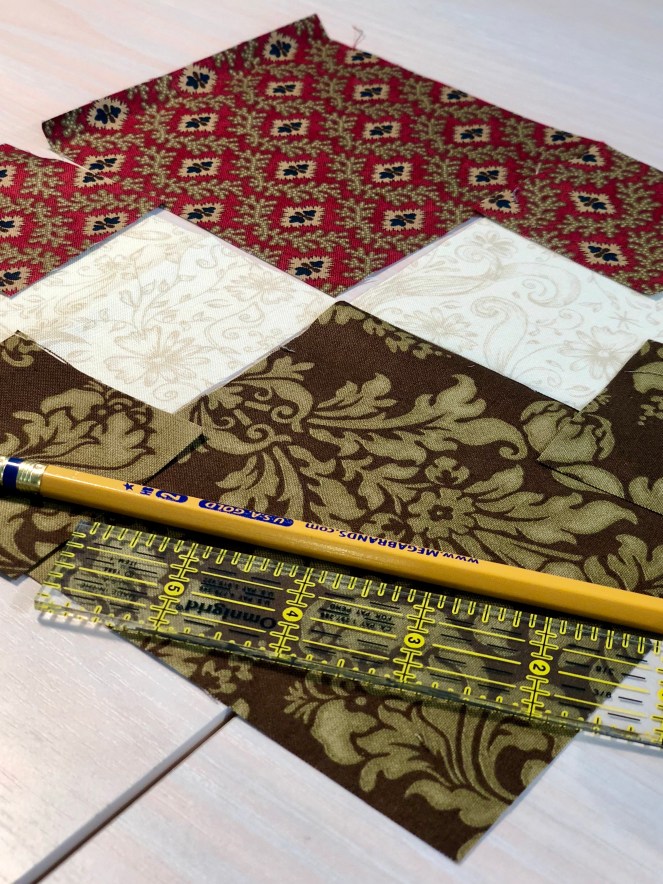
Each block consists of two feature fabrics and a connector fabric in cream. I used a pencil and a small ruler to mark a diagonal line across the small square. You will have to refer to the pattern directions for the details on block construction.
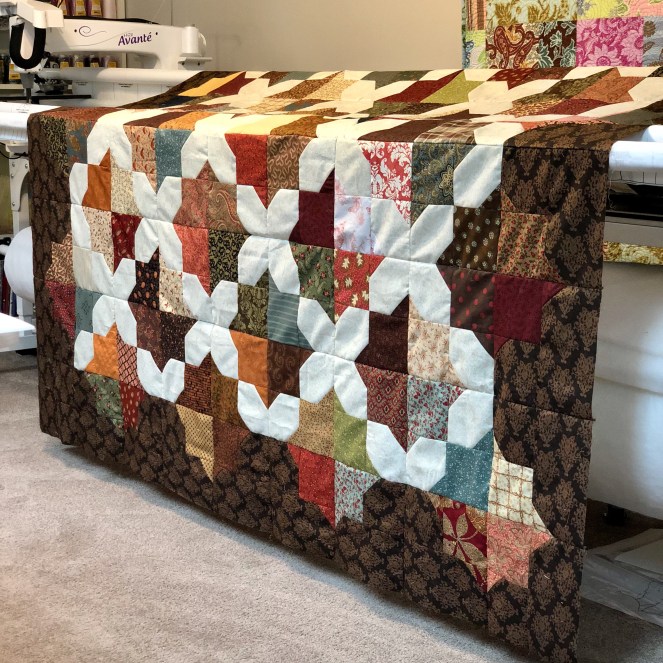
I love a simple block that has a big block potential. Nicola Dodds Speedwell quilt, is made from simple construction with graphic star punch.
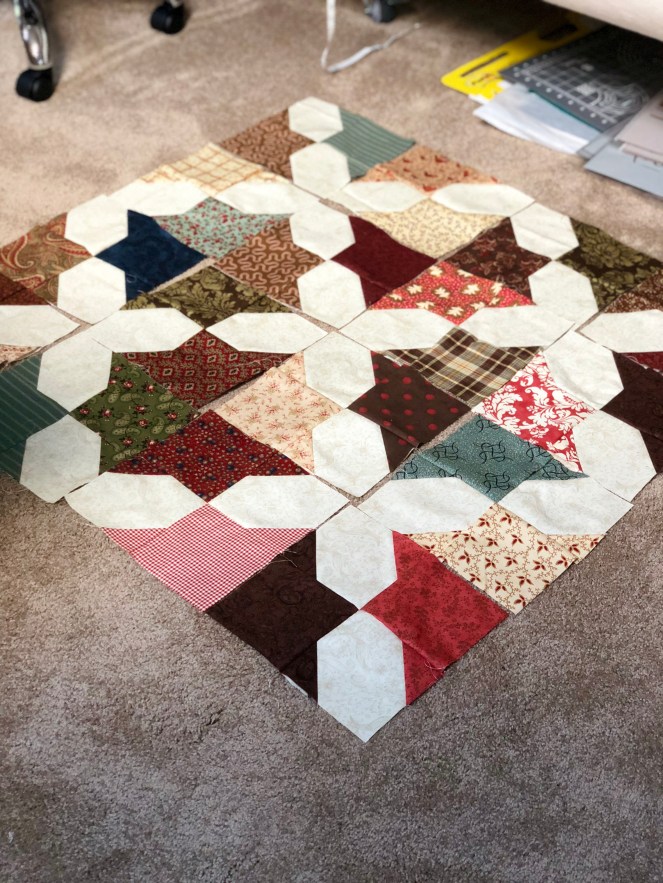
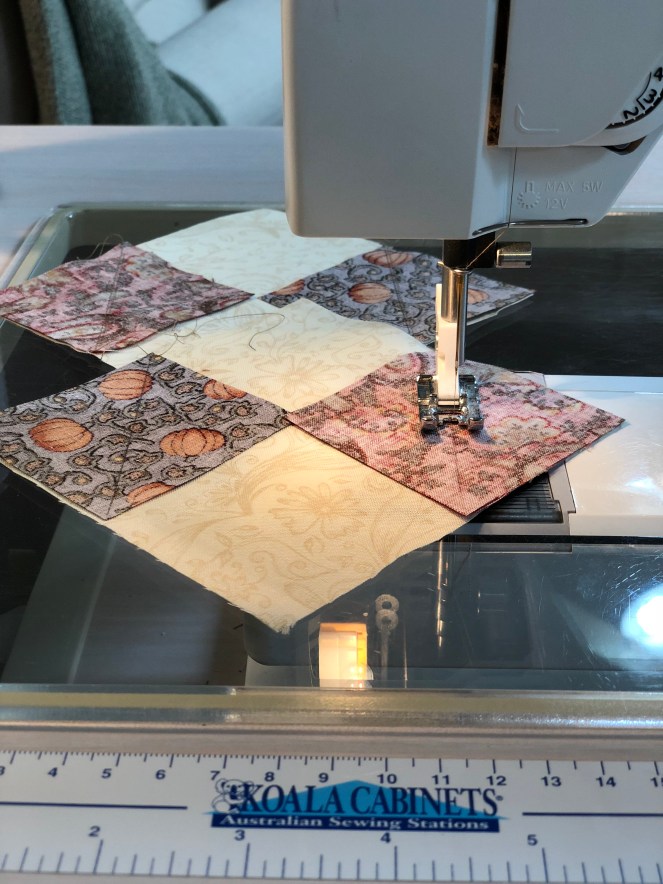
My first few block’s are sewn. Can you see the block? I had to make several blocks before I could get the pattern to show. I’m happy with the contrast between the cream connector squares and the colorful star squares.

I stitched up quite a few scrappy looking blocks. Now its time to cut the brown border squares and rectangles. I really like the way the block design overlaps into the border. After laying out a completed border block, I noticed how directional the brown fabric was. In order to keep the fabric pattern heading in the same direction I pre cut all the brown fabric and set it out around the interior blocks with the colorful squares. I didn’t trust my self to not make a directional mistake, so I went back for each individual block, sewed it together, put it back in place and grabbed the next block.
I spent one month completing the quilt top. In a future blog post I will show the quilting process. I can’t wait to snuggle with this fun fall quilt all winter long. I’m sure the snuggle time will start while hand stitching the binding. I wont be alone for that task. My Yorkshire terriers are sure to join me.