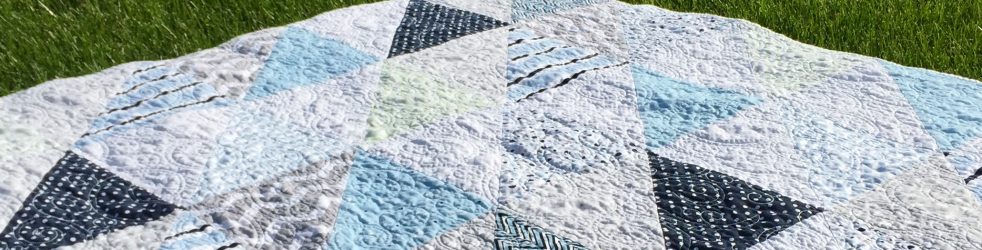
Today was a beautiful day. I wish I could have been outside but instead I had to play catch up in the quilt and blog world. At least I was communing with nature in a quilting way. Soon I’ll have hydrangeas blooming again. Blooms are sure to give me color inspiration for the project.
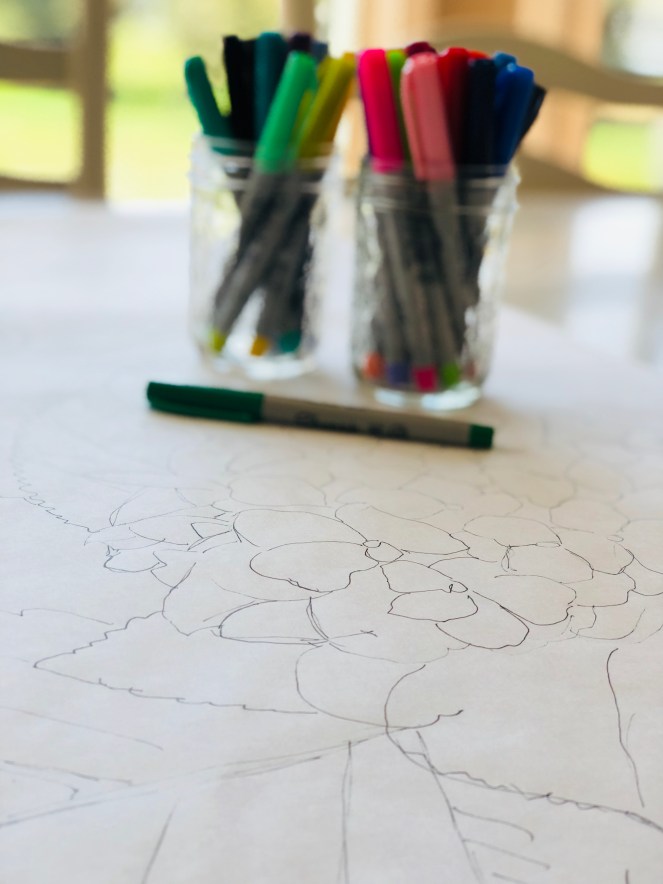
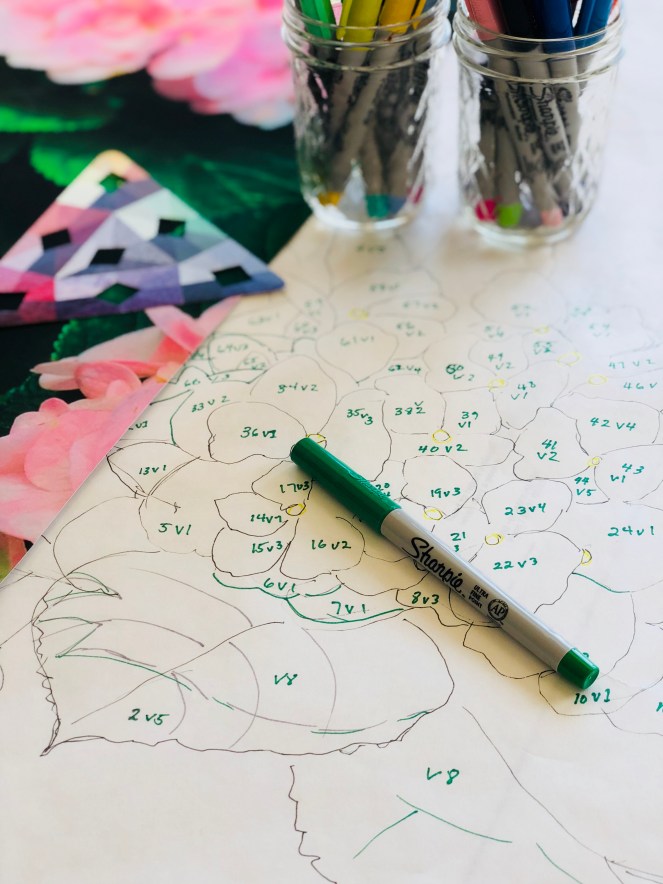
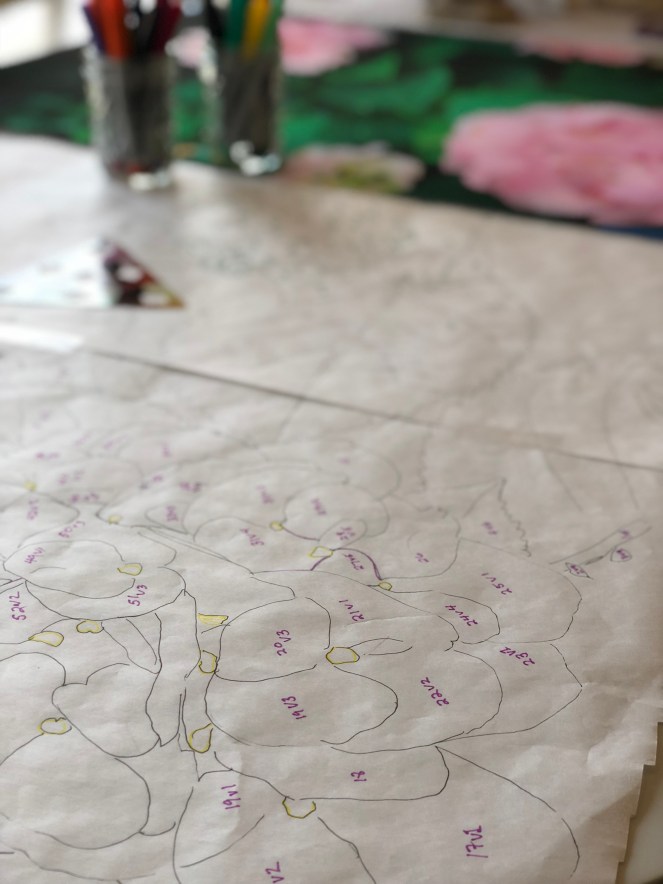
In part one of the series I used a photo to create a map of my motifs. In part two I have begun the coding process for all the pieces. I’m not even half way there but it’s a good start. Looking at the floral petal pieces gets a little confusing. As I am numbering the pattern, I’m also assigning a level of lightest to darkest for each petal and leaf. Looking back and forth from photo to pattern and back to pattern is making my head spin. Also there are pattern parts that I drew in, that are not part of the original photo. I’m assigning light and dark levels to those pieces by making an educated guess.
I have several hours of work ahead in numbering and coding the rest of the floral groups. When it’s complete, I’ll copy all the information onto a vinyl overlay. I’ll use the overlay to place all the individual petals and leaves together.
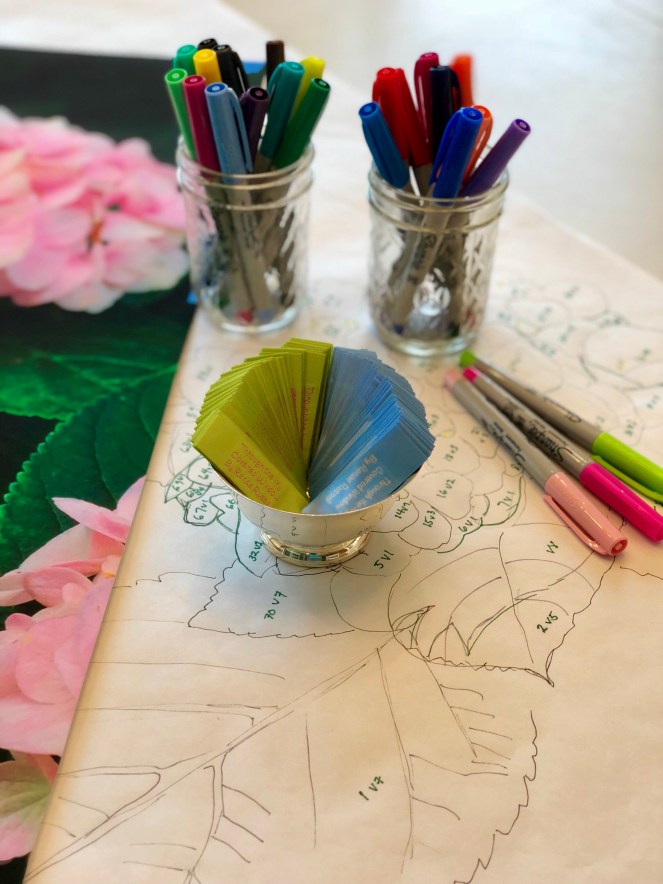
After the pattern making process is complete I’ll think about color variations. I don’t necessarily have to go with pink . I have photos of my garden in all growth stages so I could decide on a more multicolored late summer palette.
Whatever I decide I’m sure it will be pretty.
I’m using permanent ink ultra fine point markers to number and code all the pattern pieces.I’m choosing to also color code the pattern pieces in each floral cluster. That’s why I purchased a large pack of permanent markers. I figured that if I worked with one pattern cluster at a time, I would be able to stay in smaller numbers and that would be a benefit if some of the pieces were to tiny for a three digit number and code.I took a break from writing in numbers to look at my super cute new labels from the Dutch Label Shop. If I choose to stay in the pink color palette for my hydrangea quilt then I’ll use the green with pink stitching label. If I go with a blue/periwinkle then I have a perfect blue with cream stitching label. This is getting way ahead of the finish, I know. It was fun to think about the fact that I have my own signature labels to attach in perfect colors. It’s just so pro! Ha ha
If you didn’t read my post about quilt labels called The Answer For Me Is A Little Woven Tag, then please have a look. The Dutch Label Company provided a discount code for a 15% reduction in price for my readers. I was thrilled to find a company that will make small batches of labels for home sewists like me.
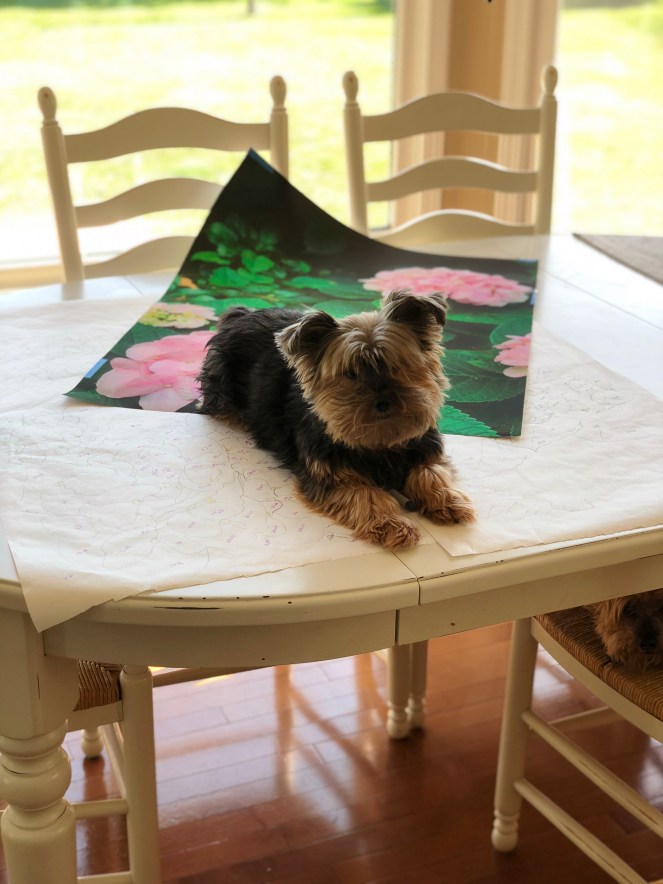
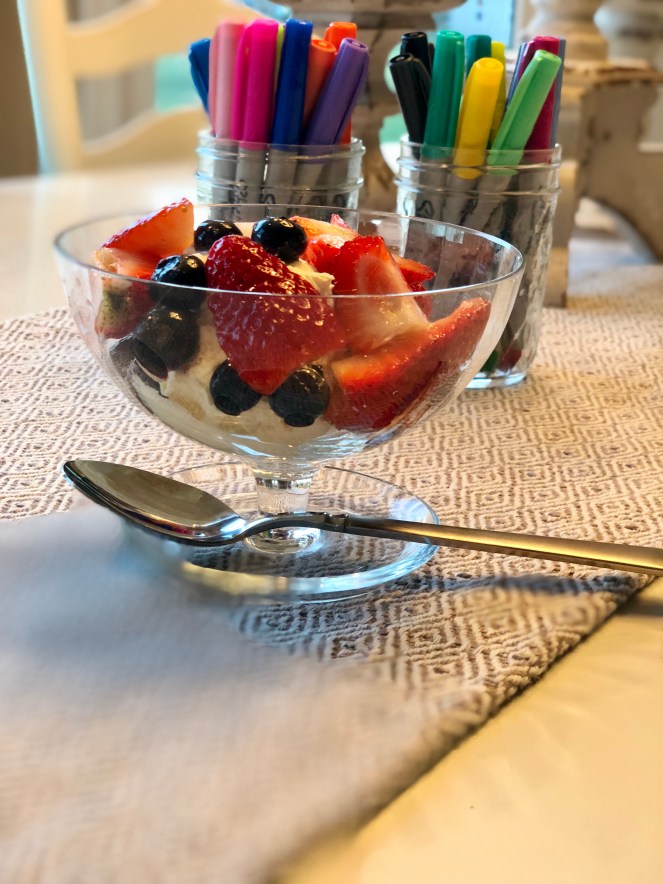
A new cluster and a new marker color . I started numbering from one again, to keep the digits smaller. I think it will be easier for me to tell the difference between green-one and purple-one.I worked steadily on the pattern and writing the first blog post and that was probably the reason for the puppy protest. My spunky Yorkie climbed onto the kitchen table, knocked several things To the ground, barked a few choice words and laid down in the middle of my work space. If you look to the lower right of the photo, you can spy another Yorkie in the chair. Well his shenanigans didn’t go unnoticed. I made a point to take them on a long walk later in the evening. He wanted me to notice him. He has good non verbal communication skills.After a long day it’s nice to relax with berries and fluffy vanilla pudding.
Discovering life through quilting, sewing, cooking, gardening, organization, reading, teaching and now through blogging. I'm trying to let my goodness shine . I hope you'll join me.
View all posts by throughtheivycoveredwindow
Thank you Ashley! I’m always interested in how creative people make things. What is the process that they use? Why did they choose to use that? Maybe other “Creatives” would like to follow along with one of my projects in real time.


Renae,
I love this post and it’s amazing to think about what all goes into the process of creating. I can’t wait to see more!
Ashley
LikeLiked by 1 person
Thank you Ashley! I’m always interested in how creative people make things. What is the process that they use? Why did they choose to use that? Maybe other “Creatives” would like to follow along with one of my projects in real time.
LikeLike